
Some years ago, I was sitting in my uncle’s house, watching him go over some of his reloading equipment. Full of questions, I began to fire them off, one after another. It didn’t take too long for him to realize how interested I was in this. He told me to follow him to the barn to look for a box.
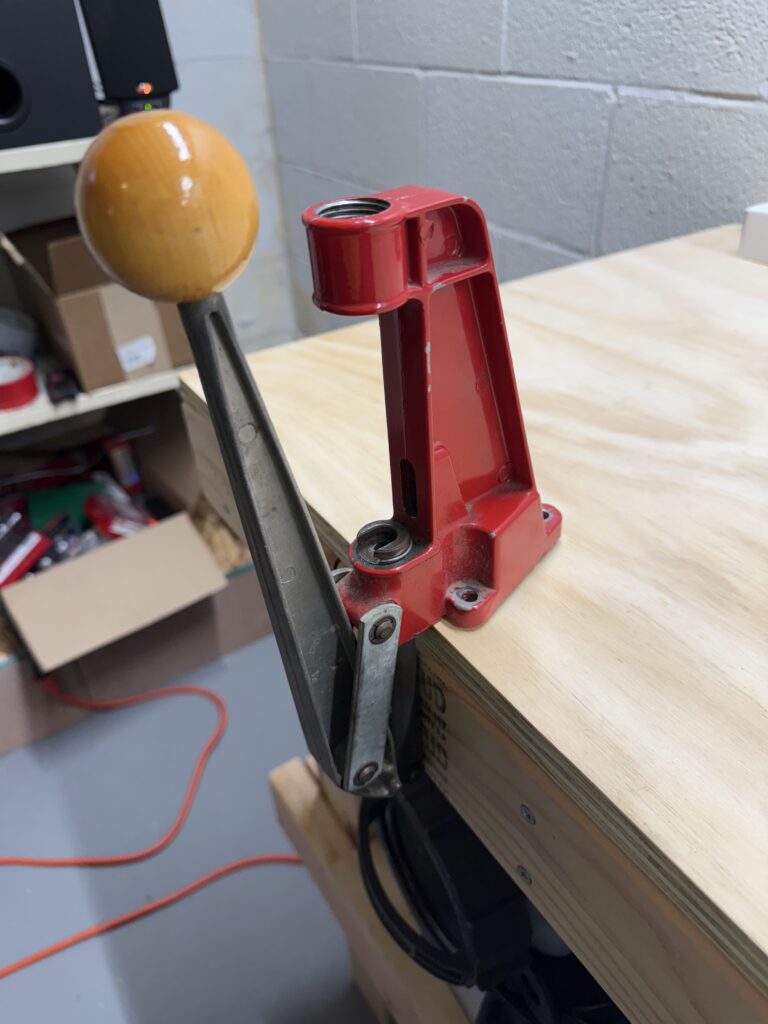
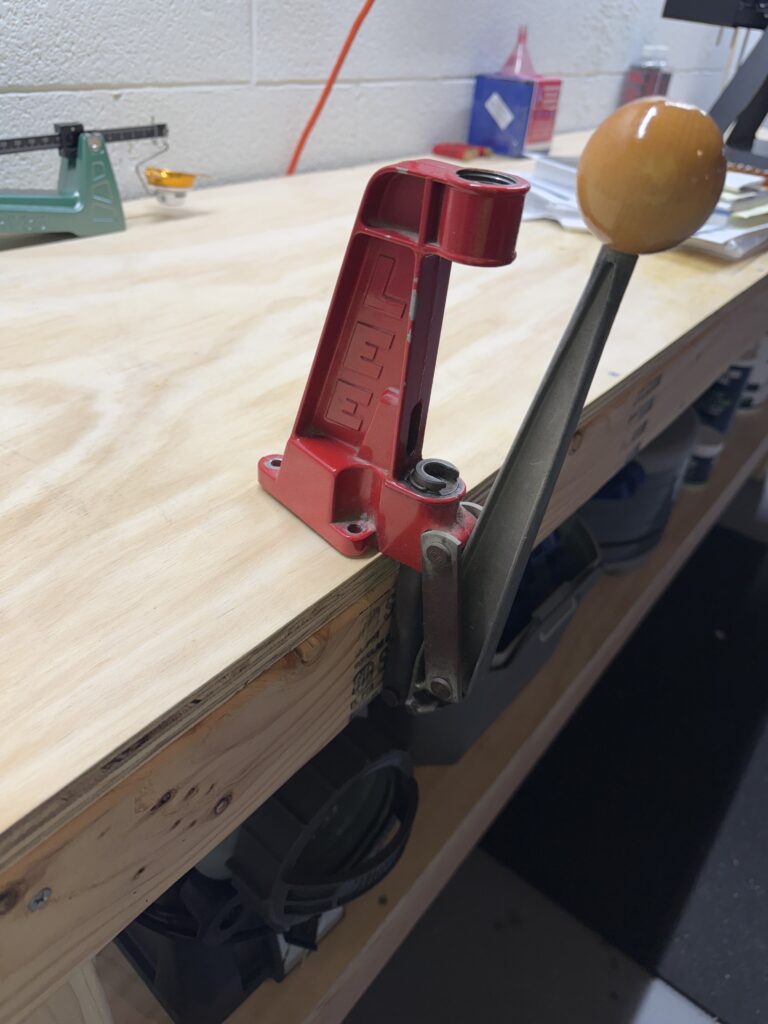
After a few minutes of searching the loft, going through some old storage bins, he finally found what we had set out to look for. It seemed to be just a dusty old box that had sat in the barn for a few years too many. He opened the box, and I had no clue what I was looking at. He pulled the old Lee C frame press from the box and explained to me what it was. It looked a lot different than what I had seen him use, so different that I had a hard time believing they could be used to accomplish the same task. He brought it back to the house and showed me how it was used, found an old Hornady reloading manual he had, and sent me on my merry way. I had decided that I would load ammo for the only center-fire rifle I had at the time, a first-generation Savage Axis chambered in 22-250 Remington.
My father had purchased that rifle for me for Christmas. The only problem was that I had to supply my own ammo. I was 15, I only had one part-time job, and at the time, ammo was typically around $30 per box of 20. You can quickly see how this would become a problem. It just so happened that at the same time, I was in high school in a woodworking class, and that Monday, we had been assigned a project. We had to build something of utility made from wood, with the tools we had in the shop. And now I had my perfect project. I would build my first reloading bench. Now, many may have a problem with the fact that a minor was building a bench to make ammunition on, for a school project. However, my parents, the teacher, and I were just fine with it. So that is exactly what I did.
Over the next couple of weeks, I would go to class, design my bench, go to the local store and get some wood, and put all of this together. My bench was 3 feet long, 2 feet deep, and 3 feet tall. To many, it didn’t seem like much, but to me it was the key to a door that opened a whole new world. The day my bench was finished, my mom brought the truck to school, and I immediately took my bench home. I set it up in my bedroom, mounted that old LEE press, and then had an unfortunate realization. The only thing I had was spent brass from past range trips. I had completely forgotten about getting components. I had about an hour until the local gun shop closed, so I ran downstairs with all the money I had in my coffee can and begged my mom to drive me to the gun shop. She did, and I got up to the store and began to look at components. It just so happened they had primers, some Sierra .224 55-grain bullets, and a pound of Hodgdon H414 powder on hand. And the crown on top of all was the LEE 22-250 dies sitting on the shelf. I had everything I needed to start this project. I went home, set the dies, and got to work.
At the time, I used an RCBS hand primer, a LEE Perfect Powder Measure, and my old C-frame press. Over the years, I loaded hundreds of rounds on that press, sitting right on the edge of my bed. By the time it was all said and done, I had loaded 9mm, 22-250, 308 Winchester, and 38 Special. I got many good years out of that setup. It worked for me, and the tasks that I wanted to accomplish. But it definitely had some downfalls. The first of those being it was in my carpeted bedroom. I feel that a reloading bench should be on a hard floor for when powder is spilled. Trying to clean powder from carpet is suboptimal at best. Also, 3 feet is quite short for a bench. And while the equipment I had worked with, there was definitely some room for improvement. And I got just that when I moved into my new house. While my house is not massive, it has a dry basement that was a blank canvas. I live alone, so I have full rein to do with it as I please. And now I have a far better job than what I had when I was 15, so I can finally afford some better gear. For some folks, the reloading bench is one of those things that is ever evolving, but for others, it is a “set and forget” type of situation. So let’s take a look at what improvements my setup saw.
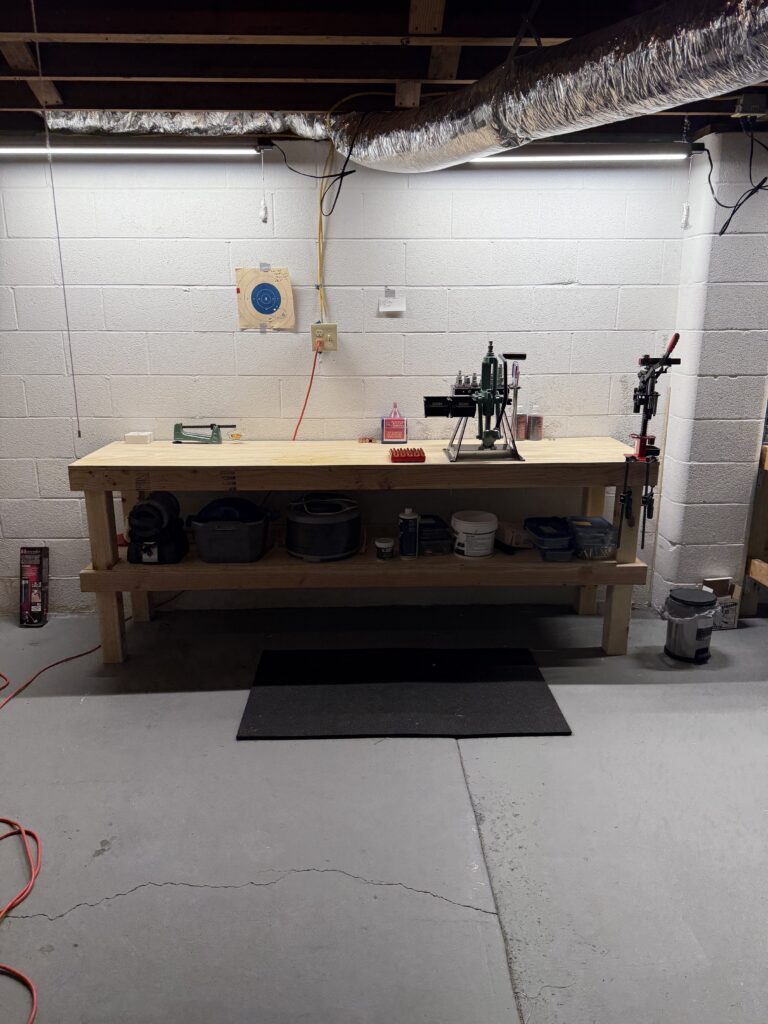
The first thing I changed was the bench itself. I needed something longer, and afforded more room to work. For this I opted for an 8 foot bench, approximately 36″ tall, and 2 feet deep. I went to the store and got some wood, along with some wood screws I “borrowed” from my dad. Remember, Jesus may have been a Carpenter, but I certainly am not. I am a rifleman. So this bench is definitely not going to be featured on the cover of “woodworking today” or whatever magazine is popular for those who enjoy woodworking. But it is solid, steady, and affords me plenty of room to do my work, so it works for me. The bench is a basic construction of 2X4s, 4X4s, and a 3/4 inch sanded plywood top. I don’t remember exactly how much it costs, but I know it was less than $200 for everything. I didn’t use any plans to build it; I just sat down at my table and did a very similar drawing to the one I made in school. After the bench was assembled, it was time to mount the press. But while I felt my press did make ammunition, it didn’t make ammunition to the quality I wanted, so that was the next upgrade.
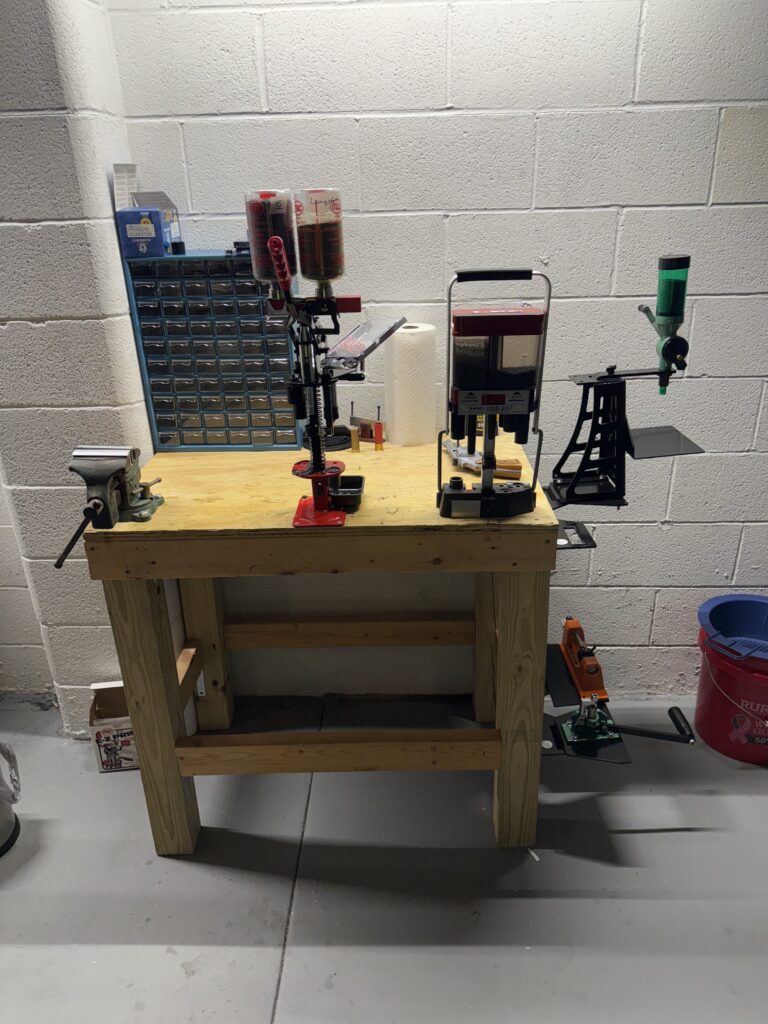
While I do love my new bench, as you can see, my old bench still gets used. It is currently housing several of my shotshell presses until I get some quick change plates ordered from Inline Fabrication. Normally, I use that bench for gun cleaning and some light gunsmithing work.
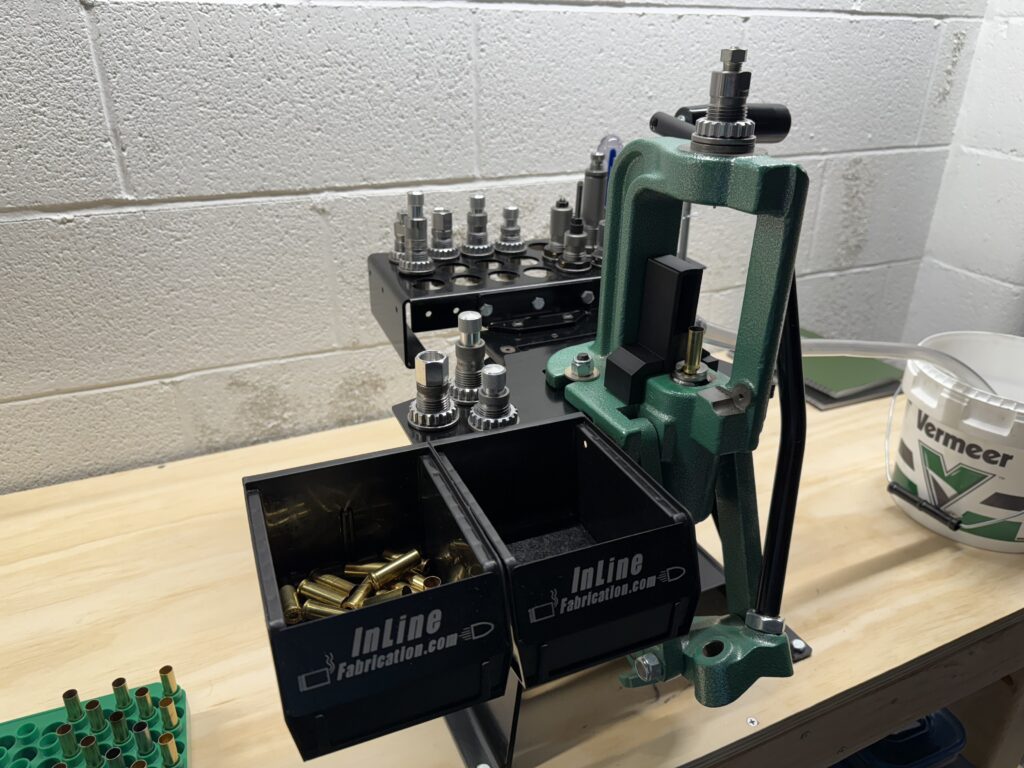
That old C press is good for basic loads, but it lacks sturdiness for precision reloads. I noticed over the years that when different amounts of pressure were applied to the loading lever, the frame would flex and cause the bullets to seat at different lengths. Definitely not good for producing quality, consistent loads. After doing some research I settled on another single stage press, but this time a press of the “O Frame” design. I wanted something that was proven to be durable and make incredibly consistent loads. I also wanted the option to use the Hornady Lock N Load bushing system. Initially I thought I was only limited to Hornady presses, which I have no problem with, but the I found an adapter for an RCBS Rockchucker to convert from traditional threads to the LNL bushing system. So I turned to the internet and began my search for presses. I was able to find a used RCBS Rockchucker IV Supreme. It was less than a new press, and the icing on the cake was the Inline Fabrication Ultramount that was attached to it. In the time it took me to plug in my debit card information, that press was on the way. When it arrived several days later, I was thrilled with the setup. I had already ordered the conversion LNL kit and some bushings for my dies. The mount and press were thrown on the bench and I got everything secured. I was unfamiliar with Inline Fabrication up until that point, but I assure you now I should own stock in them for how much I have purchased. I will write a further article detailing all my gear from Inline Fab. Now things were beginning to come together. I had a big new bench, and I had a solid new (to me) press. The next thing I wanted to upgrade was my powder measure.
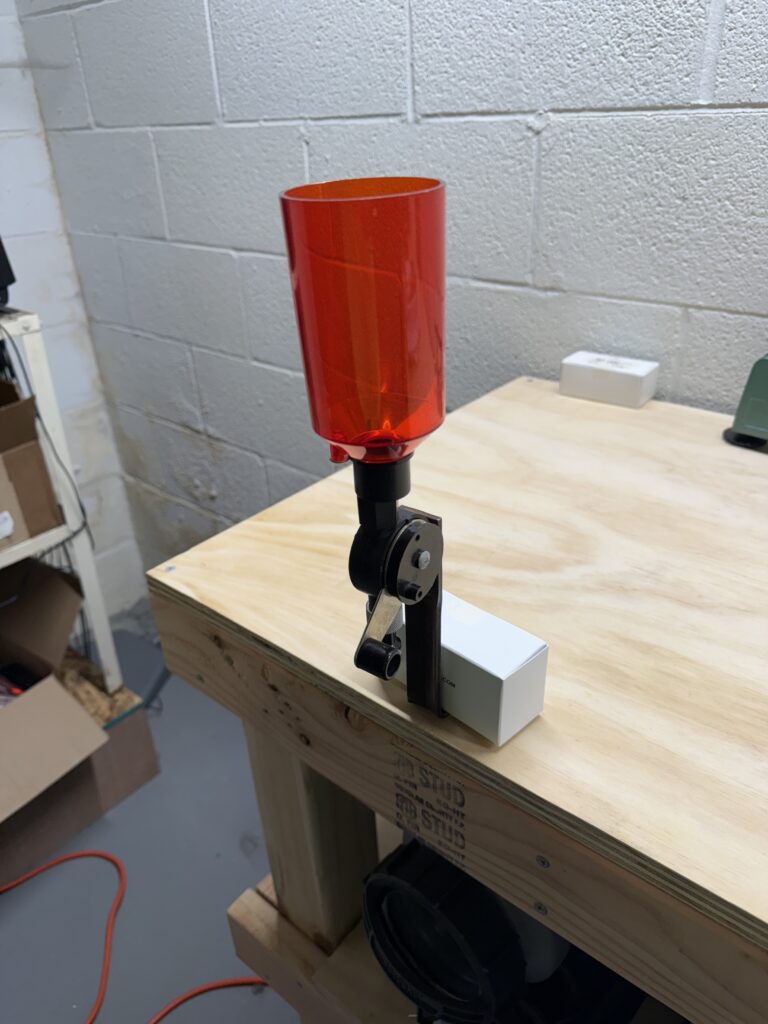
While the LEE Perfect Powder Measure is serviceable, it is not as precise as some others. I was already so impressed with my RCBS RC IV Supreme, I figured, why not try an RCBS Powder Dispenser? I started looking into them online, and after a review from another channel that I really like, the team over at Ultimate Reloader, I settled on the RCBS Uniflow III. After it showed up, I got it set up and tested several different powders I had on hand. I was astonished. I had spent the money on this powder measure, and my charges were all over the place. And then it hit me. Were my charges really that far off, or was the cheap old pocket scale the problem? Back to the interweb I went.
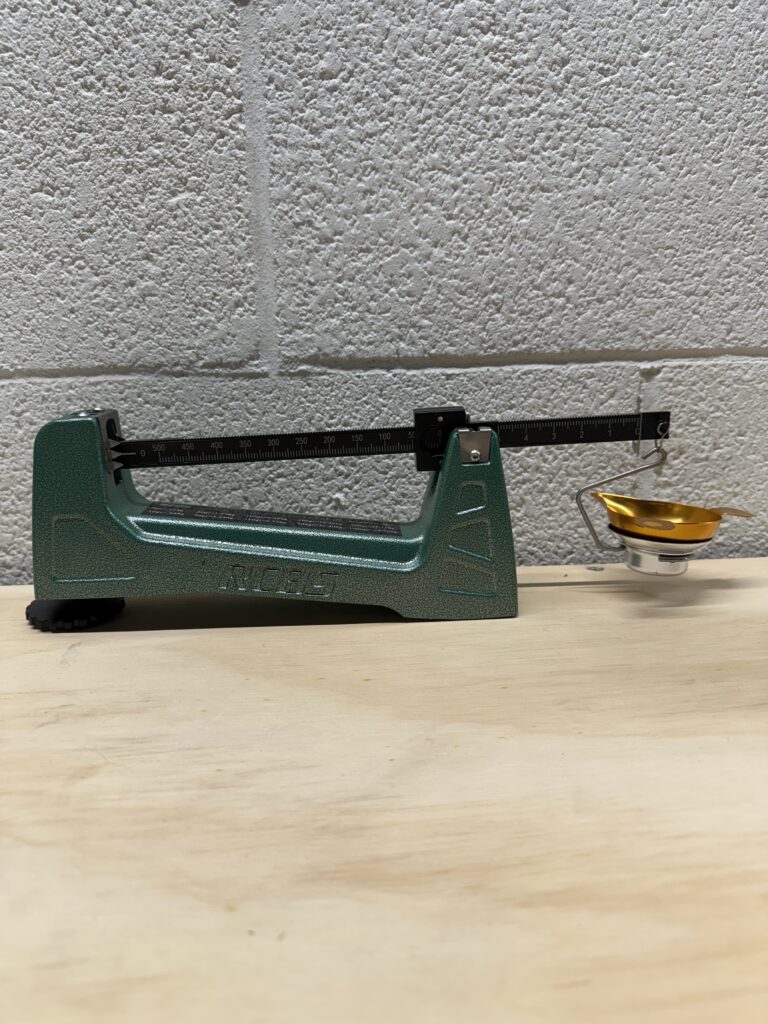
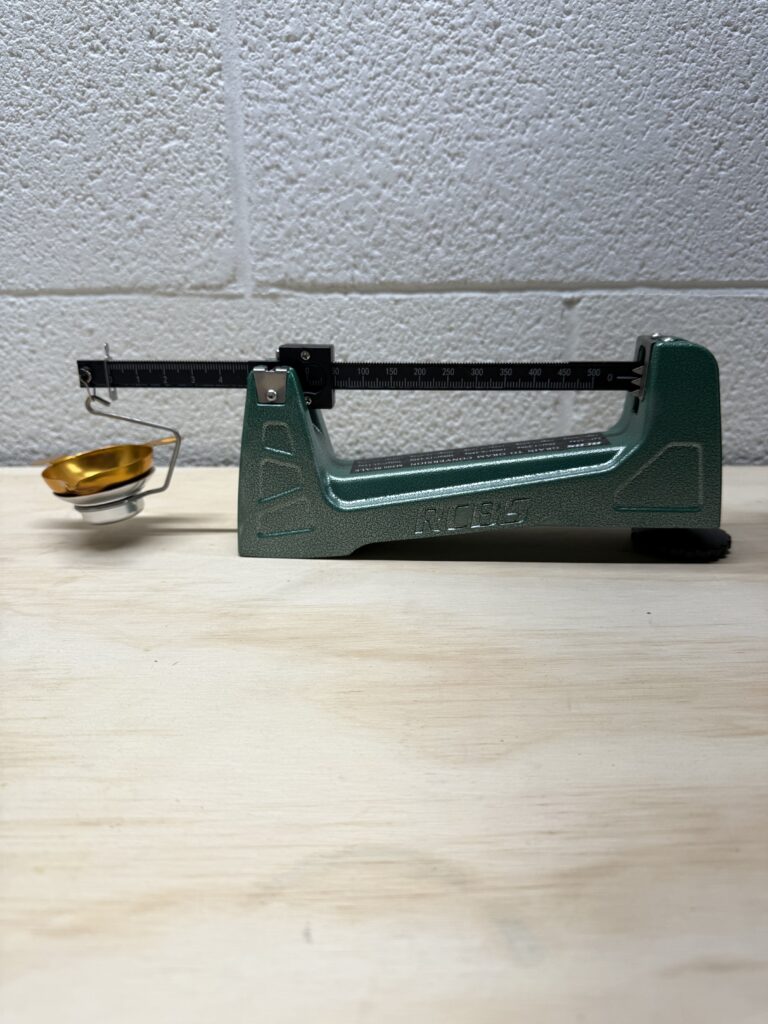
By this point, it should be no surprise that the next piece of gear I bought was also green. The RCBS M500 Mechanical Powder Scale. There are numerous reasons that I chose this particular scale. One, the level of precision and accuracy you get for the money is very high. For an electronic balance of the same accuracy, it would cost much more. Two, I like the mechanical scale; there is less to go wrong. While electronics are great, most electronic balances are more fragile than their metal mechanical counterparts. While I don’t plan on throwing this scale down a flight of stairs, there is always a possibility of something getting dropped or knocked over, and my subjective opinion is that this scale will hold up to that better. However, do not hold your breath for a scale drop test; I have no plans on doing that. That is, unless I am inundated with requests to do so, then I will consider it. Now comes the question: Why RCBS and not another brand? And all that comes down to is that I have had good luck with several different pieces of RCBS gear I have had over the years, so I have a high level of confidence in their products. I am in no way saying that this is the best scale, and that all others would not be considered. I am just saying that this is what works for me. Very rarely is there only one correct answer. This is just one of the correct answers that are available. Plus, I really like it when all the colors on my bench match.
Now, for the last piece of upgraded gear to be featured in this article. The RCBS Bench Priming System. While I did use the RCBS hand primer for many years, and had great success with it, on long reloading sessions, it would tend to fatigue the hand, so I wanted to try the bench-mounted system. Also, I had never tried a bench-mounted priming system, and I was curious how I would like it over the hand priming alternative. After using the bench priming system, there have been several things that I like about it over the handheld system. The first being that it is very easy to seat stiff primers with. When using the hand system, you can definitely seat a stiff primer, but there is not nearly as much leverage there as compared to the bench system. The second is the quickness and ease of switching from small to large priming cups. The bench primer uses drop-in stems to seat primers, where there is a guide system that goes with the hand primer. While it is not hard to switch with the hand primer, it does take a little more time than with the bench series. On the other hand, there is something that I see the hand priming system has going for it. I have heard others mention portability, but I only load at my bench, so that isn’t much of a factor for me. But what is a factor is the way you load primers. With the bench primer, you dump the primers onto a primer flip tray, shake the tray, and pick them up one by one with a primer pick-up/feed tube. With the hand primer, you just dump them onto the primer feed tray, shake them until they are right side up, slap the lid on, and go to work. So, in that aspect, the hand primer does have a slight edge.
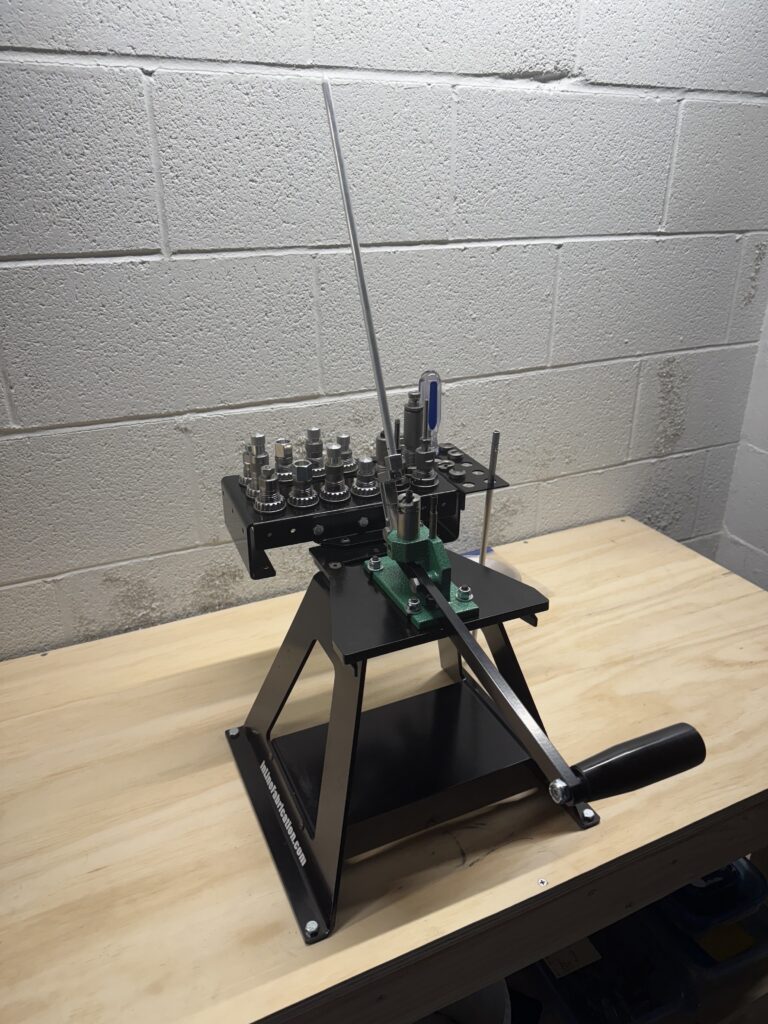
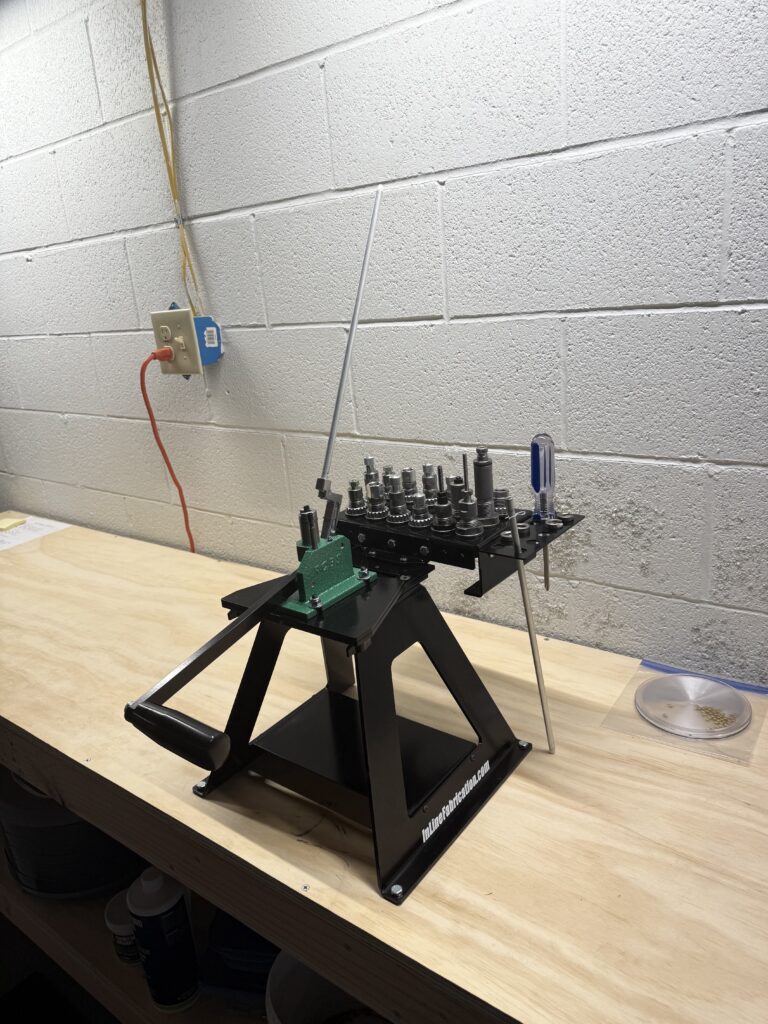
This is a view into some of my most-used pieces of reloading equipment. While currently you see a surplus of RCBS equipment here, there are plenty of brands that work incredibly well.
I would love to hear what brands and pieces of equipment have served you well over the years. Do you have one brand that you stick to? Does your bench resemble a rainbow with all the different colors of equipment mounted there? Head down to the comments and let me know.
Until next time, friends
Chuck